How to turn sketches into quality line drawings.
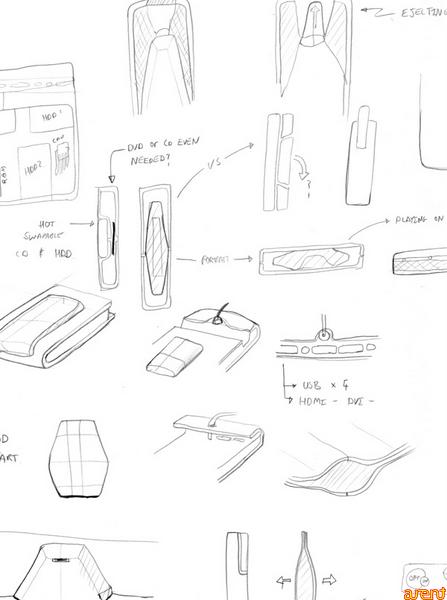
In this quick how-to, I will go over how I turn hand drawn product design sketches into high quality line drawings. Below isn’t the best of my drawing skills, (its a range of thumbnail concepts, but we are focusing on the scan.)
Jump in to find out !
Step 1. Get the Right Pencil!
Getting the right pencil is vital. My number one tip is use a COLOUR pencil, not a graphite pencil! The reason for this is because graphite easy smudges. Plus color pencils give a much better range of color, (from light to dark). At the moment I’m using the excellent Prismacolor pencil, that just feels right to me. To be exact I’m using Prismacolor Col-Erase 20045 Carmine Red.
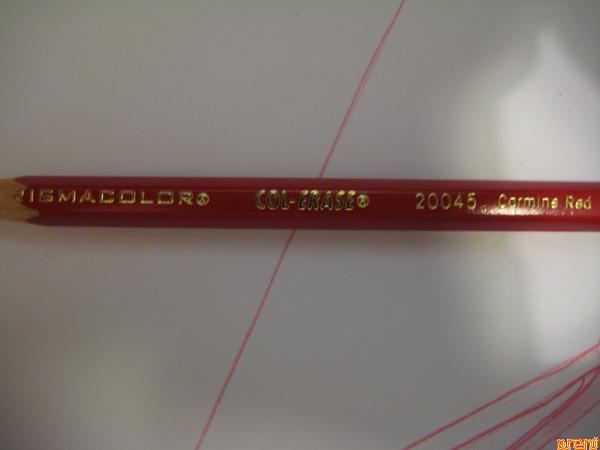
The plus is that you can also erase as well!
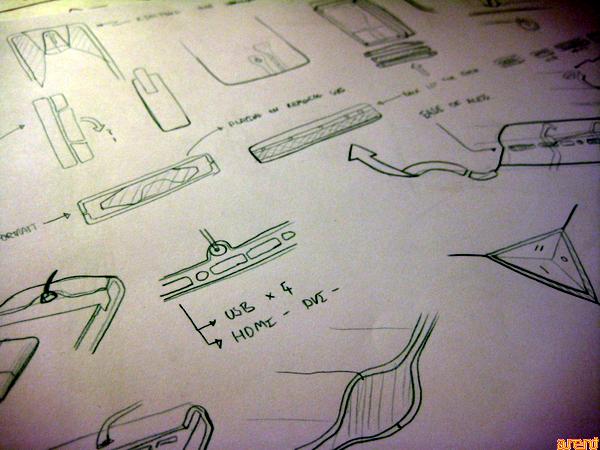
Step 2. Draw!
Try to use different line weights, and explore lots of shapes. Use the arc of your arm to get a clean line, and rotate the paper to help your drawings.
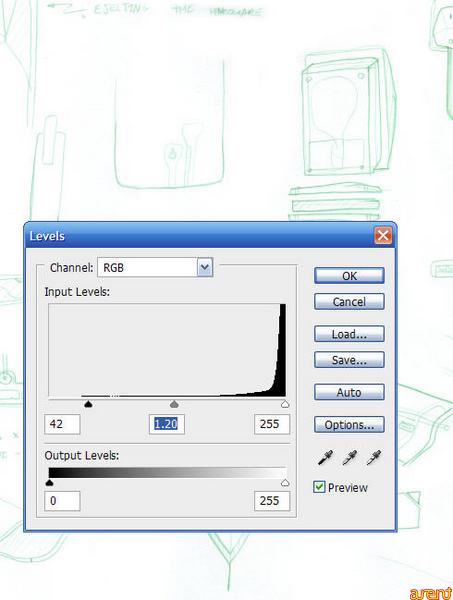
Step 3. Scan, and Then set your Levels!
I use a Canon CanoScan 4507B002 LiDE110 Color Image Scanner
to do my scanning, its only £33 and doesn’t take up much room. The default setting it to Auto-Mask and Auto-Colour, turn all of this stuff off as we are going to be sorting this all out in Adobe Photoshop CC [Digital Membership]
.
Set the levels to the below, all you are trying to do is make your darkest point the darkest point, which pulling in the really bright bits of your brightest bits.
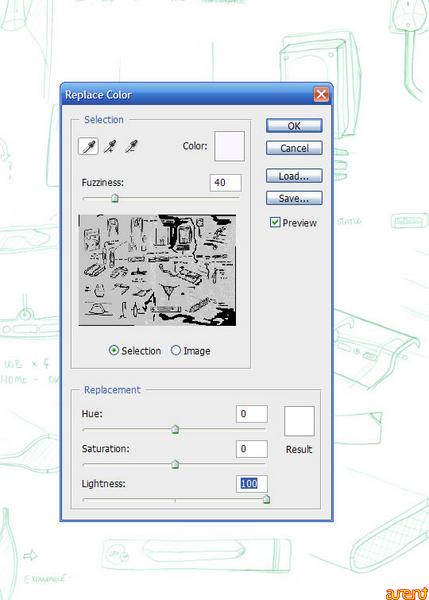
Step 4. (not always needed ) Remove that ‘blue’ paper like tinge!
I always find that I have a paper colour come though on my scans, this always effects my levels, So I often just select my background with the replace color tool and make this selections lightness 100. As we sketched in a colour pen, (not blue) the lines that we drew won’t be affected.
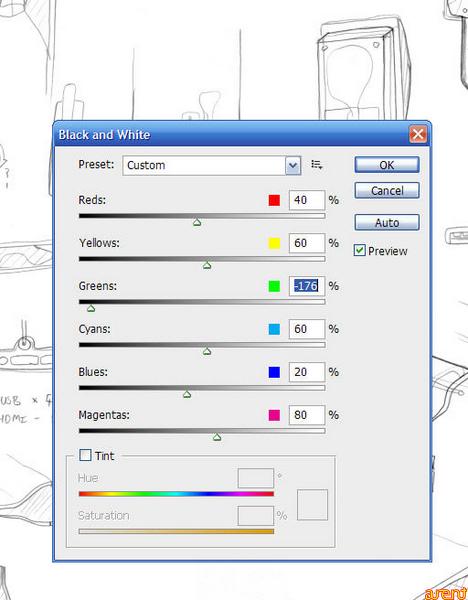
Step 5. Turn it B&W.
In this example I used a Green Pencil, so all you need to do is slide the Green slider to -200 to -170. As we used a green or red pencil, it won’t make any of the blue — black (that is picked up from the scan). If you had quite a ‘blue hue’ to your scan, make the Blues and Cyans up to 40 – 20 %.
Step 6. Clean Line.
You should now have some nice clean lines, I normally erase any unwanted lines just to clean it up but it depends on what you are using the sketches for.
I also recommend drawing sketches 2 times as large as needed, then make them smaller in Photoshop, this will give your sketches a load more detail.
Bonus Step! Create a Action, and Batch Process your sketches.
Lastly, I when doing this I would record an Action (for each color) and use this with photoshops batch processing tool.
Product Generalist
Currently in Oakland, CA